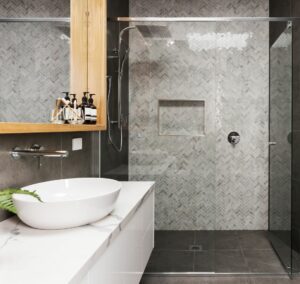
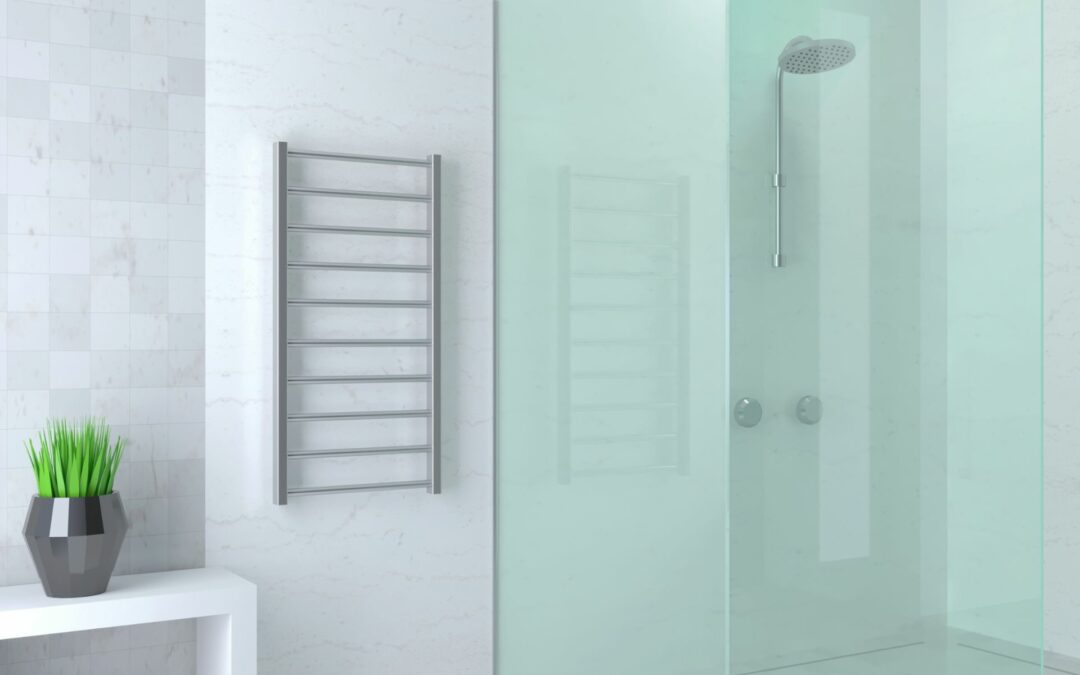
Building a curbless shower in your bathroom is a project that can significantly enhance the accessibility, functionality, and aesthetic appeal of your space. By carefully assessing your bathroom’s layout, choosing the right materials, and following a detailed installation process, you can create a beautiful and practical curbless shower. This guide will walk you through the critical steps, from assessing your space and preparing the subfloor to installing the waterproofing membrane, constructing the shower walls, and adding the finishing touches with tiles and grout.
Assessing Your Bathroom Space
Assessing your bathroom space is the first step in building a curbless shower. It’s essential to carefully measure the dimensions of your bathroom to determine if you have enough space to accommodate a curbless shower. Consider the layout of your bathroom and how it will need to be reconfigured to accommodate the shower, such as the placement of the toilet, sink, and other fixtures. Remember to also account for any additional space that may be needed for accessibility features, such as grab bars or a shower seat.
By thoroughly assessing your bathroom space, you can ensure that your curbless shower will fit seamlessly into your existing layout. In addition to measuring the physical dimensions of your bathroom, it’s also important to consider the overall design and aesthetic of your space. Take into account factors such as the style of your existing fixtures and the overall theme of your bathroom. This will help you choose materials and finishes that will complement the existing design, creating a cohesive and visually pleasing look.
Ultimately, assessing your bathroom space requires a holistic approach, taking into consideration both practicality and design elements. By doing so, you can ensure that your curbless shower not only meets your functional needs but also enhances the overall look and feel of your bathroom.
Choosing the Right Materials for Your Curbless Shower
When it comes to choosing the right materials for your curbless shower, there are several factors to consider. First and foremost, you want to choose materials that are durable and able to withstand the moisture and humidity that is common in a bathroom setting. Tiles are a popular choice for shower floors and walls as they are waterproof and easy to clean. However, it is crucial to choose the right type of tile that has a slip-resistant surface to prevent accidents.
Another vital factor to consider is the aesthetic appeal of the materials. You want your curbless shower to blend seamlessly with the rest of your bathroom decor, so choose materials that complement the overall style and theme of your space. In addition to durability and aesthetics, it is also important to consider the accessibility of the materials. A curbless shower is designed to make showering easier and more accessible for individuals with mobility challenges. Therefore, you want to choose materials that are user-friendly and safe. For example, consider installing grab bars and non-slip mats to enhance the safety of your shower.
Additionally, you may want to choose materials that are easy to maintain and require minimal upkeep. This will help to ensure that your curbless shower remains in good condition for years to come without the need for frequent repairs or replacements. By carefully considering these factors, you can choose the right materials that will create a functional, stylish, and user-friendly curbless shower for your bathroom.
Preparing the Subfloor for Installation
When it comes to building a curbless shower, preparing the subfloor is a crucial step in ensuring a sturdy and stable foundation. The subfloor provides the base on which the shower will be installed, so it needs to be strong enough to support the weight of the shower and withstand constant exposure to water.
Before starting the subfloor preparation, it’s vital to assess the condition of the existing floor. If you’re working with a bathroom that has an older subfloor, it may be necessary to replace any damaged or rotten sections. This ensures that the shower area is built on a solid, level surface. Once the subfloor is in good condition, it should be thoroughly cleaned to remove any dirt, dust, or debris. This will provide a clean surface for the next steps of the installation process.
Installing the Waterproofing Membrane
Waterproofing is a critical step in the installation process of a curbless shower. It helps to protect the underlying structure of the bathroom from moisture damage and ensures a long-lasting and leak-free shower. The waterproofing membrane is a key component in this process, as it forms a barrier that prevents water from seeping through the walls and floor. To install the waterproofing membrane, start by thoroughly cleaning the surface where it will be installed. This will ensure a good bond between the membrane and the substrate.
Next, apply a layer of waterproofing primer to the surface using a brush or roller. This will help to enhance the adhesion of the membrane. Once the primer has dried, carefully unroll the waterproofing membrane and press it onto the surface. Make sure to overlap the seams by a few inches and use a roller to smooth out any air bubbles or wrinkles. Pay special attention to corners and edges where additional reinforcement may be required. Finally, trim any excess membrane using a utility knife and allow it to fully cure before proceeding with the rest of the installation process.
Building the Slope for Proper Drainage
Building the slope for proper drainage is a crucial step in the construction of a curbless shower. The slope ensures that water flows efficiently to the drain, preventing any pooling or standing water in the shower area. To create the slope, the subfloor needs to be built up using a combination of mortar and thinset. This process involves adding layers of the mixture and gradually sloping it towards the drain. It is essential to carefully measure and mark the slope angle to ensure that it meets the necessary standards. A slight slope of 1/4 inch per foot is typically recommended for proper drainage.
Maintaining a consistent slope throughout the shower area can be challenging, especially if the bathroom floor is uneven. In such cases, additional leveling techniques, such as using a self-leveling compound, may be required to achieve the desired slope. It is essential to take the time to build the slope properly, as it plays a significant role in preventing water damage and maintaining the longevity of the shower.
Installing the Shower Pan and Drain
Installing the shower pan and drain is a crucial step in building a curbless shower. The shower pan serves as the base for the shower floor, providing a solid and waterproof foundation. Before beginning the installation, it is crucial to ensure that the subfloor is properly prepared and leveled. Any unevenness can cause issues later on, such as water pooling or leakage.
Once the subfloor is ready, the shower pan can be positioned and secured in place. The next step is installing the drain. The drain should be carefully positioned to ensure proper water drainage. It is important to choose a drain that is compatible with the chosen shower pan and meets local building codes. The drain should be securely connected to the plumbing system to prevent any leaks. This is also a good time to test the drainage system by pouring water into the shower pan and checking for any leaks or issues. Proper installation of the shower pan and drain is essential for a functional and leak-free curbless shower.
Constructing the Shower Walls
Constructing the shower walls is a crucial step in building a curbless shower. The walls not only provide structural support but also contribute to the overall aesthetic appeal of the space. There are various materials and techniques that can be used to construct the walls, each with its own advantages and considerations.
One popular option for shower walls is ceramic or porcelain tiles. These tiles are not only durable and water-resistant but also offer a wide range of design options. They can be arranged in various patterns, colors, and textures, allowing you to create a shower space that suits your personal style. However, it is crucial to ensure that the walls are properly waterproofed before tiling to prevent any water damage or leakage.
Another option for shower walls is solid surface panels, such as acrylic or fiberglass. These panels offer a seamless, easy-to-clean surface and are available in a variety of colors and patterns. They are also resistant to mold and mildew, making them a popular choice for those concerned about hygiene. However, it is important to note that solid surface panels may require professional installation, as they need to be precisely cut and fitted to ensure a watertight seal.
When constructing the shower walls, it is essential to consider factors such as durability, water resistance, maintenance requirements, and aesthetics. By carefully weighing these factors and understanding the tradeoffs involved, you can make informed decisions that will result in a beautiful and functional curbless shower.
Adding Finishing Touches: Tiles and Grout
Designing a bathroom involves several key elements, and one of the most critical aspects is choosing the right tiles and grout for your curbless shower. Tiles play a crucial role in the overall aesthetics of the shower, while grout provides stability and prevents water damage.
When selecting tiles, it’s essential to consider not only their visual appeal but also their functionality and durability. Opting for slip-resistant tiles is a wise choice to enhance safety, especially in a wet environment like the bathroom. Additionally, tiles with a low absorption rate will ensure longevity and prevent water seepage. When it comes to grout, it’s best to choose a waterproof and mold-resistant option. This will minimize the chances of mildew and mold growth, which can be a common issue in areas with high humidity.
It’s also important to select a grout color that complements the tiles and enhances the overall look of the curbless shower. Darker grout colors are often preferred, as they are more forgiving when it comes to dirt and stains. Proper installation and regular maintenance of the tiles and grout are essential for ensuring their longevity and preserving the aesthetic appeal of your beautiful curbless shower.

Ensuring Water Tightness and Maintenance Tips
To ensure water tightness in your curbless shower, there are a few key factors to consider. Firstly, you should choose high-quality waterproofing materials that are specifically designed for shower installations. These materials, such as waterproof membranes and sealants, create a protective barrier against moisture and prevent leaks. It’s important to carefully follow the manufacturer’s instructions when applying these products to ensure proper adhesion and maximum effectiveness.
Another critical aspect is the proper installation of the shower pan and drain. A well-installed shower pan with a tight seal around the drain is essential for preventing water from penetrating the subfloor. Make sure to use a reputable and experienced contractor who is knowledgeable about the specific requirements for curbless showers.
Additionally, regular maintenance is key to preserving the water tightness of your shower. Inspect the waterproofing materials periodically for any signs of wear or damage and address any issues promptly to avoid leaks and water damage. Taking these steps will help ensure the long-term water tightness and functionality of your curbless shower.
Let BetterBuilt Builders Give You The Curbless Shower Of Your Dreams
Ready to transform your bathroom with a curbless shower? Start by carefully planning your project, considering the layout and design that best suits your needs. Choose durable, stylish materials that complement your bathroom’s aesthetic and ensure the water tightness of your shower. Remember, the key to a successful curbless shower installation lies in meticulous preparation, quality materials, and attention to detail. If you’re unsure about any part of the process, reach out to our hardworking remodeling and building team right here at BetterBuilt Builders. Your dream bathroom awaits—begin your curbless shower project today and enjoy the comfort and elegance it brings to your home.

