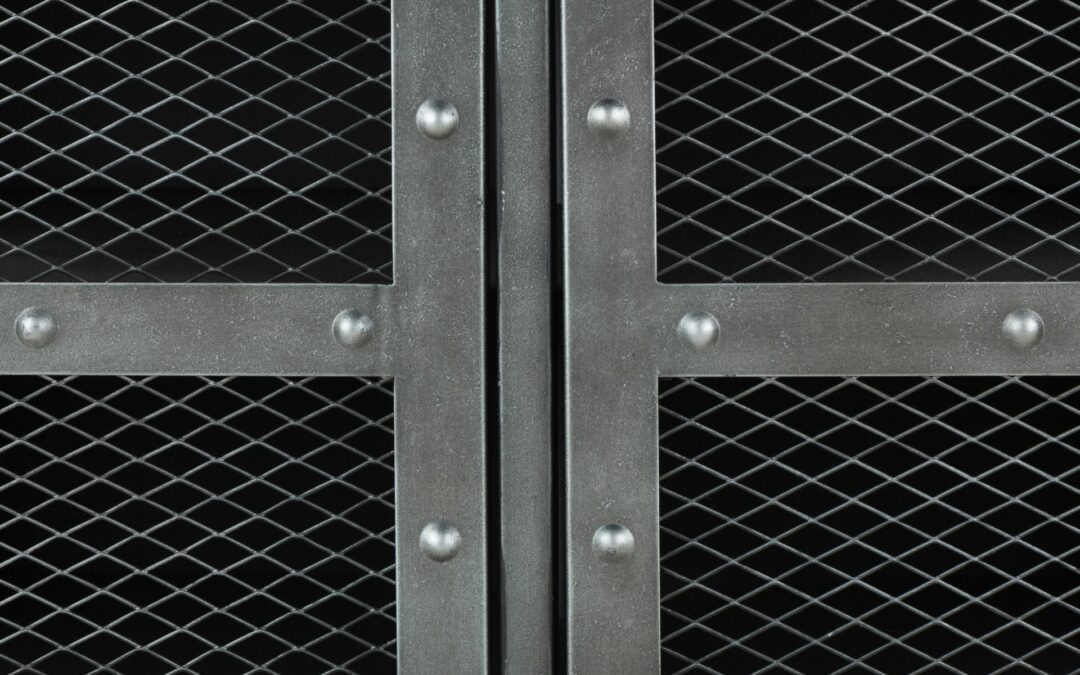
Trends always come and go, especially where interior design is concerned. One part of your home that can undergo such trends is your cabinets. The current trend in kitchen remodeling is to use decorative wire mesh which is increasingly popular for cabinet doors, adding both aesthetic appeal and textural contrast.. There are many perks to using decorative wire mesh for cabinet doors, from DIY-friendliness to their versatility. However, if this trend is appealing to you, you’re probably more concerned with how to install them. Luckily, you can learn how to add them by reading this blog.
Installing Decorative Wire Mesh For Cabinet Doors
If this interior design choice enraptures you, you will want to read this blog to learn more about the installation process. Here is how you go about adding them to your home:
1. Choose Which Cabinet Doors You Want To Convert
First, you need to decide which cabinet doors you want to convert. The best way to start is by picking a room in your home that you feel would benefit from decorative wire mesh for cabinet doors. Whichever room you choose, make sure it’s one that has a reasonable number of cabinets for this project. Most homeowners will use their kitchen cabinets for this project.
2. Pick A Decorative Wire Mesh That Complements The Room
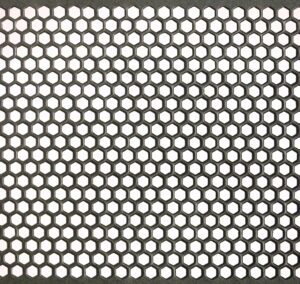
As soon as you know which room you’ll start with for your cabinet door conversion, you’ll need to choose the right decorative wire mesh pattern to complement the space. There are a variety of designs to choose from, so pick the one that you think will work best with the style of your home. Additionally, experts recommend purchasing inserts that are ⅛ inch shorter than the cabinet panels in length and width to ensure they fit.
3. Remove The Cabinet Doors And Cut The Faces
Once you have obtained the mesh, you next need to remove the cabinet doors. You will need a screwdriver, circular saw, clamps, and a wood chisel for this step. You will first need to use the screwdriver to detach the cabinet door from the hinges and put the hardware into plastic bags so you don’t lose it. After marking the parts you will need to cut to remove the panel faces, you will secure the door with clamps to your workspace before cutting out the panels with a circular saw and wood chisel.
4. Measure, Cut, and Insert The Mesh Into The Cabinet Doors
Now that the panel faces are out of the way, you can accurately measure how much decorative wire mesh should be cut and installed. You will need to use metal shears to get the right shape and amount of decorative wire mesh for cabinet doors. Before inserting the mesh, you will need to sand the edges of the opening with sandpaper to ensure a smooth installation. You will then turn the door face down to insert the mesh and secure it with heavy-duty staples.
5. Reinstall The Cabinet Doors
Now it’s time to reinstall your new and improved cabinet doors. You will need a drill or screwdriver to ensure that your doors reattach to the hinges. If you’re worried about doing this step correctly, you can hire a professional to help complete it. Don’t forget to open and close the cabinet door after it’s installed again to ensure it’s truly secure.
Call Our BetterBuilt Builders Team To Remodel Your Cabinets!
We hope you find this guide to installing decorative wire mesh for cabinet doors extremely useful. Whether your kitchen needs a new look or you want to keep yourself busy with a simple DIY project, decorative wire mesh can be a great material to work with. That said, if you would prefer to have professional help, you can rely on our BetterBuilt Builders team to come to your aid. Contact us today, and we will give your cabinet doors that new and improved facade.