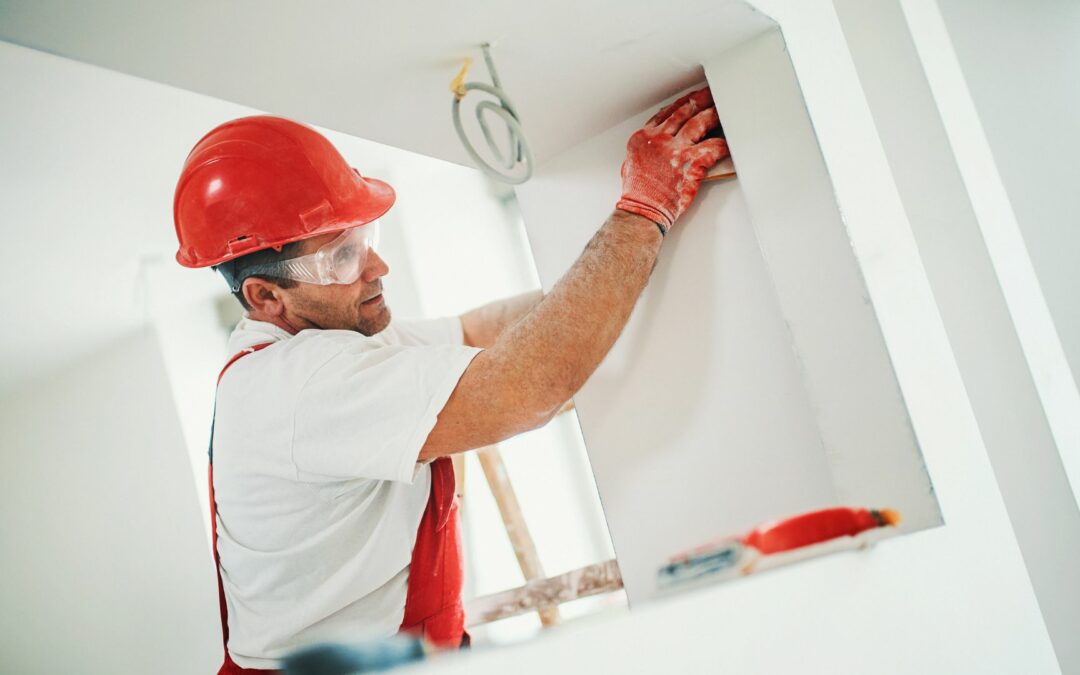
Homes require a lot of maintenance. No matter how much money you invest in high-quality materials and appliances, something will go wrong eventually. A coil will burn out in your stove. A part in your washing machine will break. Your HVAC system may feel and need a replacement. And the drywall in your home might start sprouting cracks and holes, leading to repair needs. Keeping up with home maintenance can be overwhelming, especially when you choose to do things yourself rather than hire a professional. Thankfully, there are a lot of online guides, such as this one, to assist you. Check out our guide on how to repair drywall:
What is Drywall?
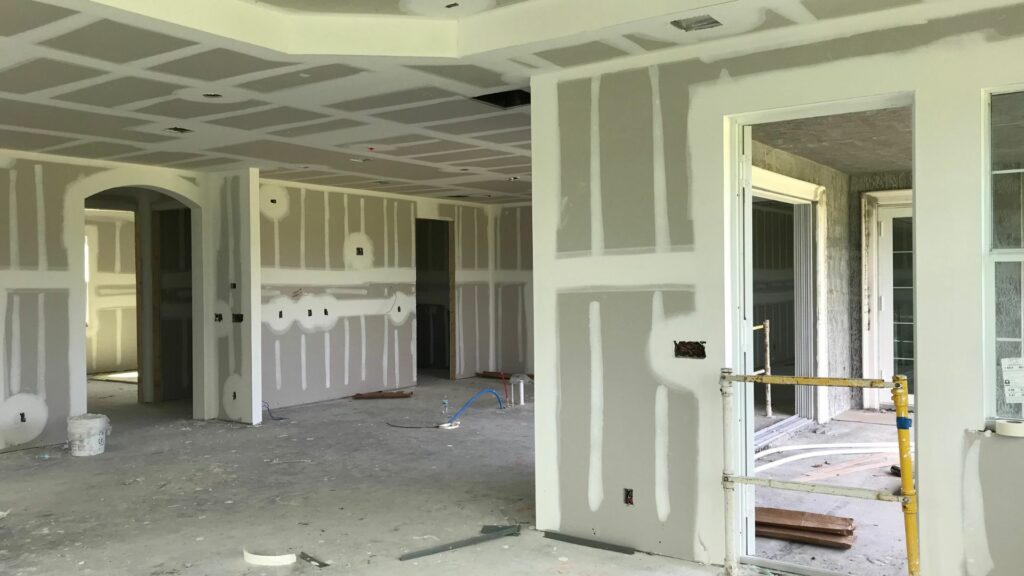
Drywall is a material commonly found in walls and ceilings. However, it can also be used to form architectural features such as eaves and arches. Drywall is a robust and long-lasting material. It is easy to repair, and you can go for many years without needing to replace it.
Tips On How How to Repair Drywall
Is the drywall in your home starting to look a little rough? It’s easy to perform repairs yourself. First, you’ll need to gather your supplies. Common items you’ll need for repair include spackle, putty knives, sandpaper, paint, extra drywall, and patches. Once you’ve collected your tools, you’re ready for minor, mid-level, and major repairs.
1. Minor Repairs
Minor repairs, such as small dents and holes, are easy to repair with spackle. First, clear away any debris from around the damaged area. Then, apply some spackle with your putty knife and let it dry for as long as the manufacturer recommends. When your spackle is dry, use sandpaper to smooth it out and create an even surface. You can then paint over the spackles area if you desire.
For small cracks, you’ll need to use joint compound, drywall tape, a utility knife, and a putty knife. First, cut a v-shaped slot alongside the whole crack. You’ll then clear away any loose debris. From there, apply a small amount of joint compound into the cracked area. Cover it with the drywall tape, carefully pressing out any air bubbles. Finally, smooth some more joint compound over that. Once you sand it down, you should be good to go.
2. Mid-Level Repairs
Mid-level repairs, such as holes created by the impact of a doorknob, require a different method for patching. In these cases, spackle won’t be sufficient. You’ll need to purchase a mesh patch. You’ll adhere the mesh patch over the wall, then cover the whole surface with spackle, taking care to blend around the edges. Once your spackle is applied, let it dry. Then use your sandpaper to smooth the surface.
3. Major Repairs
Sometimes, patches and spackle aren’t enough to repair large areas of damage. Holes that are six inches or bigger demand a different method. In these cases, you’ll need to use extra drywall to create a solution. First, measure your hole. Then measure out a piece of drywall that is two inches large in both height and width. Next, flip over your drywall patch and score a square that is one inch apart from all sides into the back. You’ll then pop off the gypsum around the square, being careful to leave the paper backing intact.
Once you’ve created your patch, you can apply it to the hole. Place your patch over the hole, then trace around the solid square of gypsum on the back. (Do not include the paper backing when tracing.) You’ll then cut out the traced square using a drywall saw. When you have a hole, apply some joint compound to the paper backing. Then place your drywall patch in the hole and press down the paper backing to seal it. Finally, add another layer of joint compound, let it dry, and sand it smooth.
We Know How to Repair Drywall!
We hope our blog has been useful to you as you learn the basics of how to repair drywall. If you still do not feel comfortable with DIY repairs, that’s okay as well. There are plenty of professionals out there who know how to repair drywall, such as the team at BetterBuilt Builders. Contact us today and learn more about our drywall repair services!